Introduction
You finally got your logo designed. It looks great on your phone or laptop—but the moment you print it on a banner, t-shirt, or business card… it turns blurry, pixelated, and unprofessional.
Frustrating, right?
This happens to thousands of businesses, and the root cause is almost always the same: you’re using a raster image instead of a vector file.
In this complete guide, you’ll learn:
The difference between raster and vector graphics
Why your logo becomes blurry
How to fix it permanently
The best solution for professional-quality results
What Is a Raster Image?
A raster image is made up of tiny squares called pixels. Each pixel holds color information, and together they form an image.
Common Raster Formats:
JPG / JPEG
PNG
GIF
BMP
Raster images are great for photos but not ideal for logos or printing.
What Is a Vector Image?
A vector image is created using mathematical paths instead of pixels. This means it can scale infinitely without losing quality.
Common Vector Formats:
AI (Adobe Illustrator)
EPS
SVG
PDF (vector-based)
Unlike raster images, vector graphics remain sharp and clean at any size.
Raster vs Vector: Key Differences
Understanding the difference is critical if you want your brand to look professional.
| Feature | Raster | Vector |
|---|---|---|
| Made of | Pixels | Paths |
| Scalability | Loses quality | Infinite scaling |
| Best Use | Photos | Logos, printing |
| File Types | JPG, PNG | AI, EPS, SVG |
Why Your Logo Looks Blurry
Here are the most common reasons your logo loses quality:
1. You’re Using a Low-Resolution File
If your logo is only 500px wide, it won’t look good on a large banner.
2. You’re Scaling a Raster Image
Raster images stretch pixels when enlarged, causing blur and distortion.
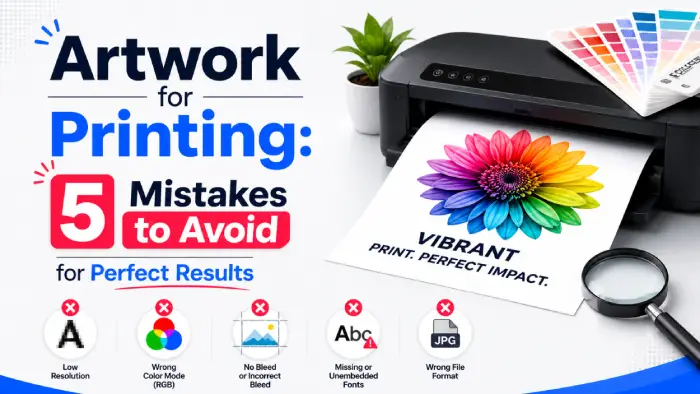
3. Wrong File Format
Using JPG or PNG for printing instead of vector formats leads to poor results.
4. Compression Issues
Platforms like email or messaging apps compress images, reducing quality.
Real-World Example
Imagine printing your logo on:
A business card → looks fine
A t-shirt → slightly blurry
A billboard → completely pixelated
That’s the limitation of raster graphics.
Vector files eliminate this problem completely.
How to Fix a Blurry Logo
Now let’s talk solutions 👇
1. Convert Your Logo to Vector Format
The best and most permanent solution is vector conversion.
This involves recreating your logo using vector paths so it can scale without quality loss.
2. Avoid Auto-Trace Tools
Many tools promise instant conversion—but they often produce:
Jagged edges
Incorrect shapes
Poor quality output
These tools are okay for quick drafts, but not for professional use.
3. Use High-Resolution Files (Temporary Fix)
If vector conversion isn’t possible immediately:
Use the highest resolution version available
Avoid resizing beyond original dimensions
⚠️ But remember: this is only a temporary solution.
Why Professional Vectorization Matters
Manual vector tracing ensures:
Perfect curves and smooth edges
Accurate color matching
Clean, editable file structure
Print-ready output
This is especially important for:
Logos
Branding materials
Merchandise
Embroidery
When Do You Need a Vector Logo?
You should always use a vector file for:
Printing (banners, flyers, packaging)
T-shirt and merchandise design
Embroidery digitizing
Large-scale advertising
Professional branding
Benefits of Using Vector Files
Scales to any size
Always sharp and professional
Smaller file sizes (in many cases)
Easy to edit and customize
Final Thoughts
If your logo looks blurry, it’s not your fault—it’s a file format issue.
The fix is simple but crucial:
👉 Convert your logo into a vector format.
It’s one of the smartest investments you can make for your brand because it ensures your logo looks perfect everywhere—online and offline.
Ready to Convert Your Images?
Get started with our professional vector conversion service today.
Get a Quote Now